Pixto!Mesh
Draw a Pixel Sprite. Get a 3D Model.
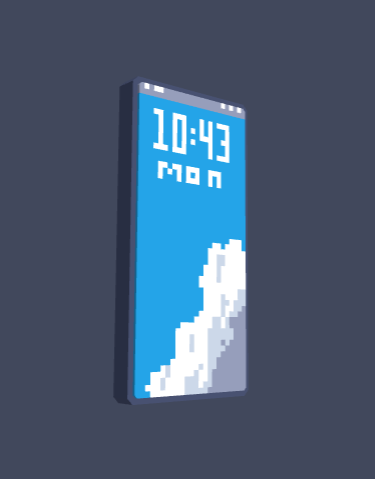
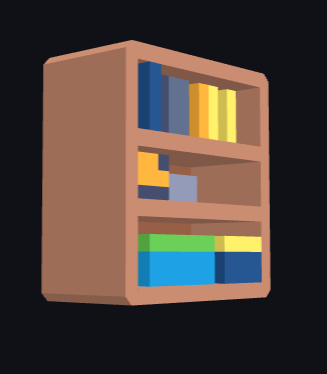
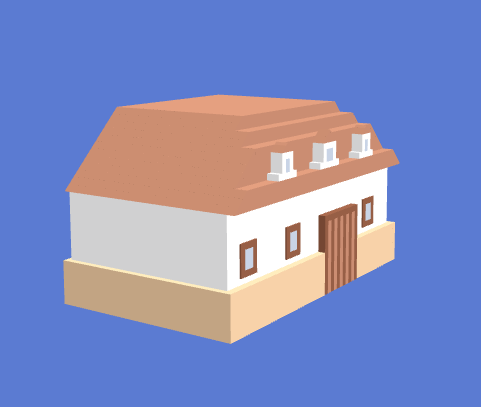
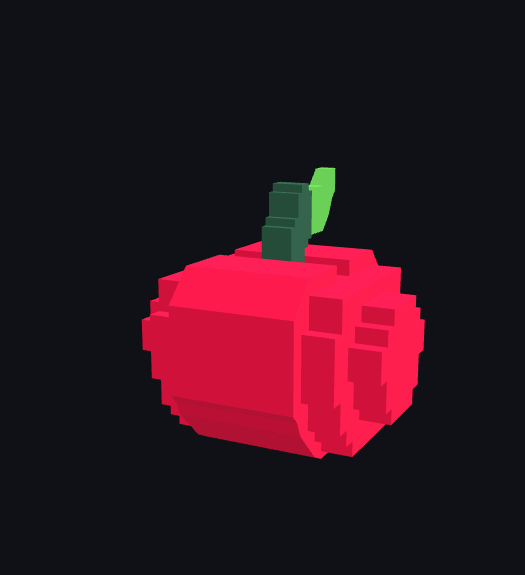
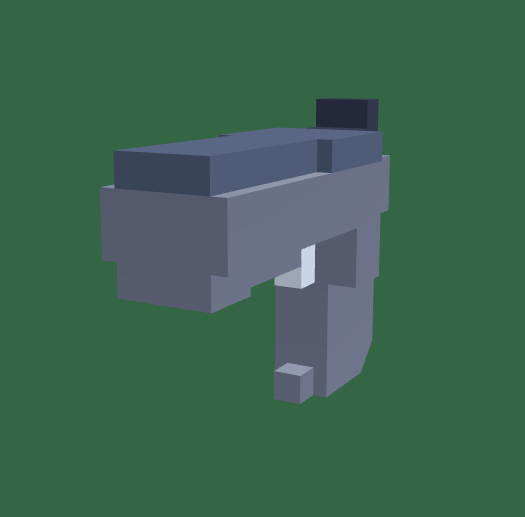
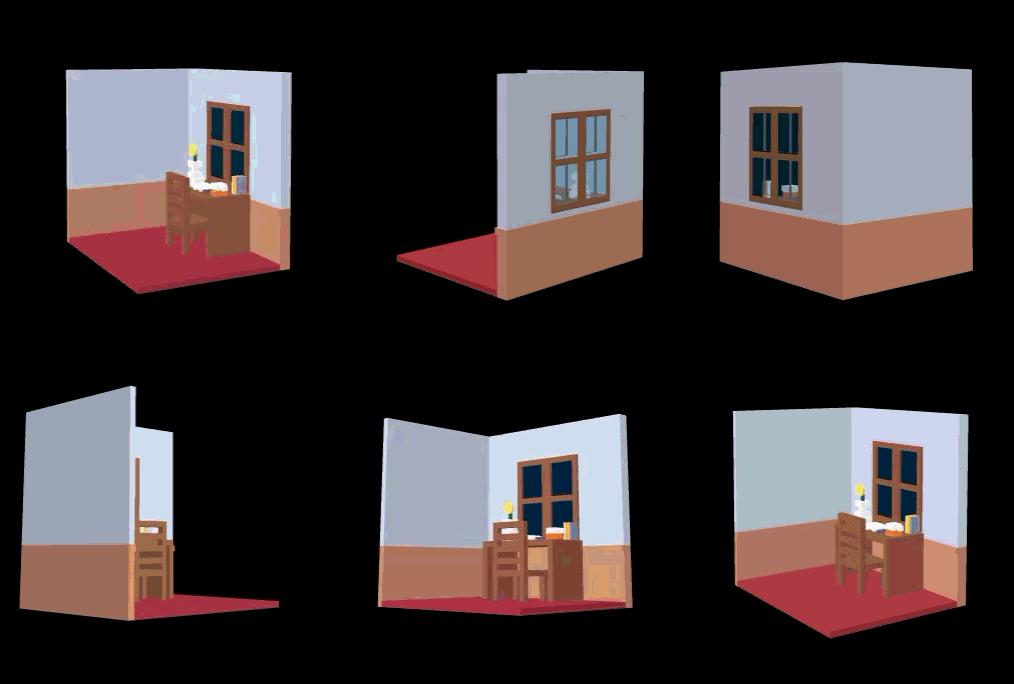
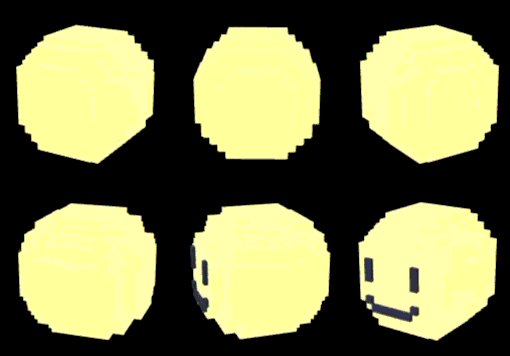
PixtoMesh is a small tool for turning pixel art into simple 3D models.
Draw your sprite on a grid, set how deep each part should be, and the 3D model updates right next to your drawing as you work.
No waiting for a build. No need to guess what the final model will look like.
Try it right in your browser. No account needed.
How does it work?
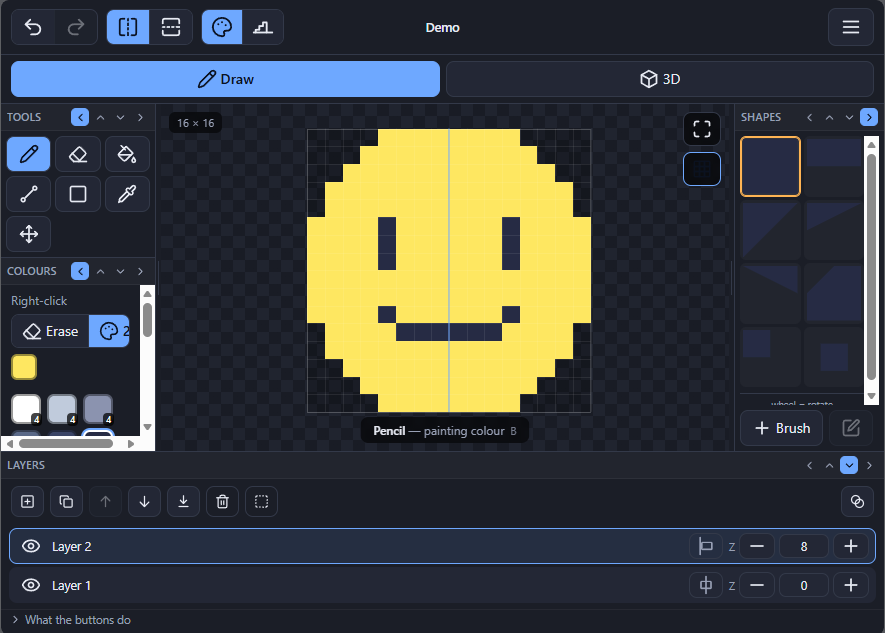
1. Draw
Start with a pixel-art sprite just like you normally would.
You've got the usual tools:
- Pencil
- Eraser
- Bucket fill
- Line
- Rectangle
- Eyedropper
- Move
- Mirror
- Undo / Redo
If you've used something like Aseprite before, most of this should feel pretty familiar.
2. Give it some depth
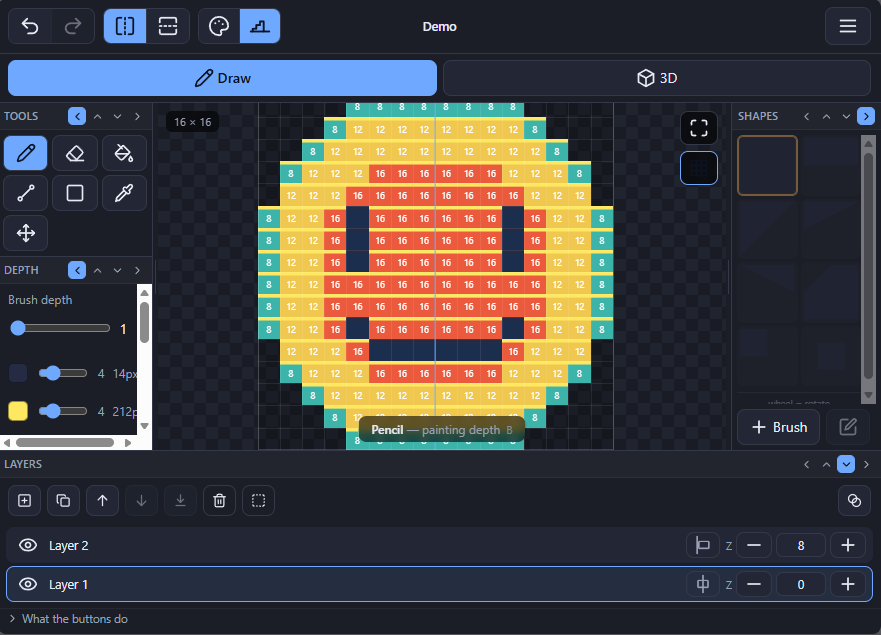
Switch to Depth Mode and the canvas shows the depth of each cell.
You can paint the depth directly, just like painting colour.
Or, if you prefer something quicker, you can assign a depth to each colour and let PixtoMesh handle the rest.
The 3D model updates as you draw, so you can see the result immediately.
3. Export
Once you're happy with the model, export it directly from the tool.
That's basically it.
Paint → Depth → 3D.

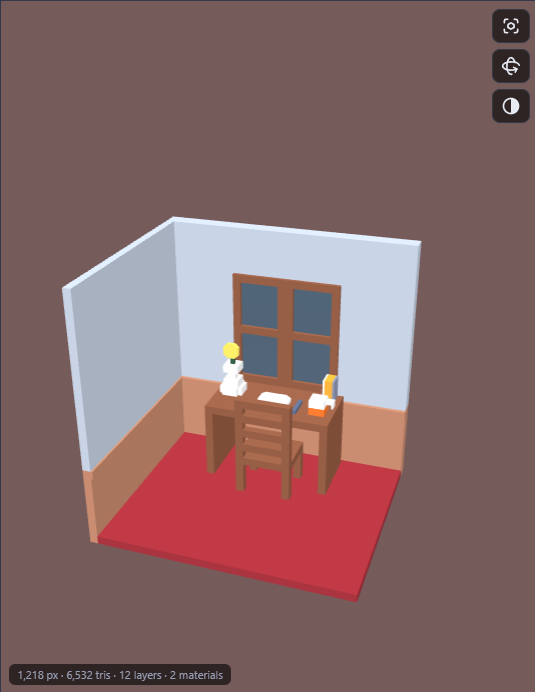
Layers
PixtoMesh supports up to 12 layers.
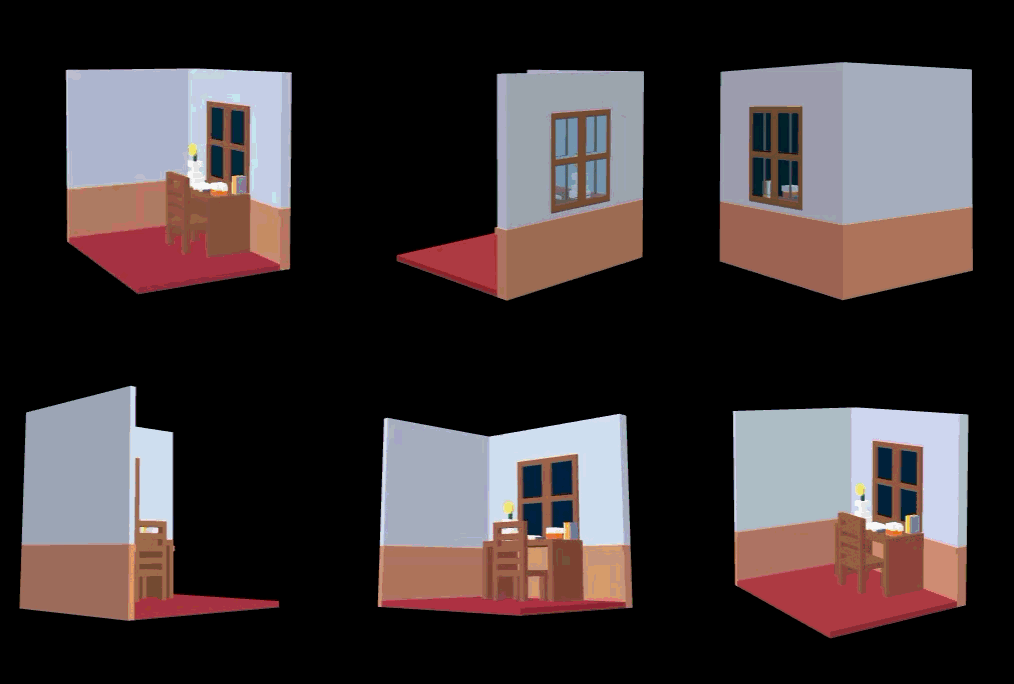
Each layer has its own grid and its own position along the Z axis, so different parts of the model can sit at different depths.
You can also choose how each layer is aligned:
- Depth grows forward from the layer's position
- Depth grows in both directions from the layer's position
This is useful for things like sprites with separate front and back parts, or models where different sections need to sit at different depths.
Materials & Colours
Colours aren't just there to make the sprite look nice.
They can also control how the exported model behaves.
Each colour can have its own material properties, including:
- Emission
- Metallic
- Roughness
- Transparency
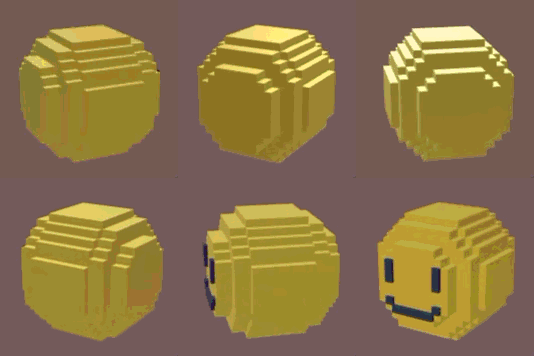
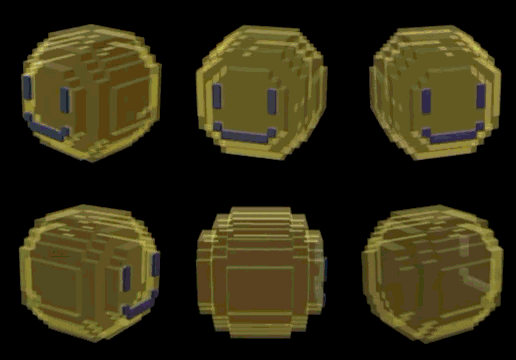
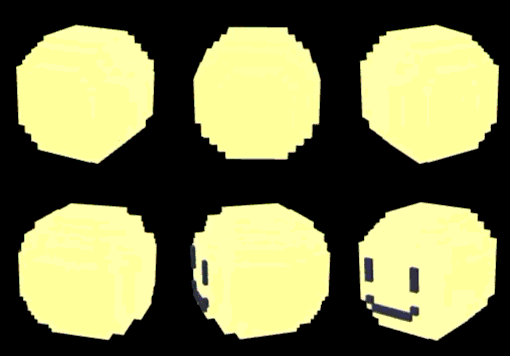
There's also an Unlit mode for sprites that already have their own lighting and shading painted into the artwork.
That way, your carefully painted colours don't get lit a second time and end up looking different from the original sprite.
Clean geometry
Clean geometry, without throwing away detail.
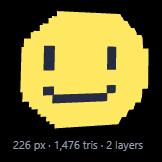
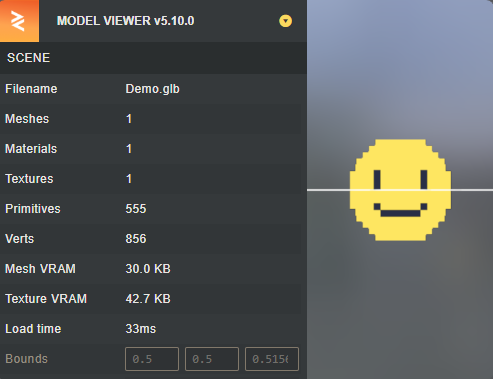
PixtoMesh merges coplanar faces during export, which can significantly reduce the amount of geometry in the final model.
Example: 1,476 tris → 555 tris
That's about 62% fewer triangles, while keeping the same shape.
Texture Atlas
The exported model can include a baked texture atlas, so your sprite artwork comes along with the model.
You can also export textures separately per layer when you need more control over how the asset is set up.
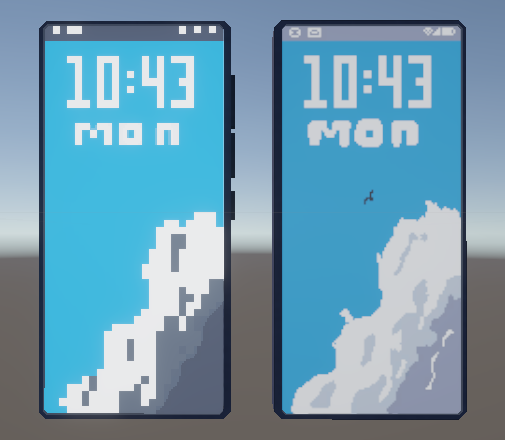
Textures can also be exported at a larger resolution, giving you more pixels to work with if you want to continue editing the texture in an external pixel-art editor.
| BEFORE | AFTER |
| Exported Texture | Custom Edited Texture |
Export
When you're done, export your work directly from the tool.
3D
GLB · glTF · FBX · OBJ · STL
2D
PNG of the sprite · PNG of the 3D view
The idea is simple: make the asset here, then take it wherever you need it.
Not a voxel editor
One important distinction:
PixtoMesh is not a voxel editor.
Everything is built by extruding the pixel art along one axis.
You draw the front of the object, and the depth comes toward or away from it.
That's also the main limitation of the current version. You can't yet turn a layer sideways and draw directly onto the side of a house, for example.
It's something I'd like to explore in a future version.
Free Demo
The demo is meant to be an actual usable version, not just a tiny preview.
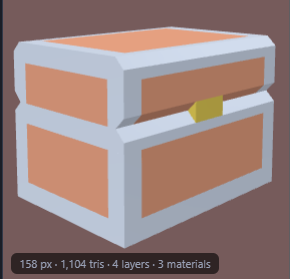
Here's an example of something you can make with it:
this chest was made with the demo
The current demo includes:
| Demo | Full | |
|---|---|---|
| Grid | 8×8 | Up to 96×96 |
| Layers | 4 | 12 |
| Shapes | 5 | 26 |
| Export | GLB, PNG | GLB, glTF, FBX, OBJ, STL, PNG |
The 8×8 grid is still useful for small modular pieces such as walls, windows, doors and crates.
The full version is designed for making complete assets rather than just testing the workflow. The larger grid, additional layers, shapes and custom brushes give you much more room to build detailed sprites..
The demo can also open projects that are larger than its editing limits.
If someone sends you a full-size .ptm project, you can open it, inspect the artwork, move around the 3D view.
You just can't edit or export it from the demo.
Why I made this
I wanted a quick way to turn pixel art into usable 3D assets without having to build the whole thing manually in a 3D editor.
There are plenty of tools for making pixel art.
There are plenty of tools for making 3D models.
I wanted something sitting somewhere in between:
draw → give it depth → get a model.
That's basically what PixtoMesh is trying to do.
It's still a work in progress, and I'd like to see what other people try to make with it.
If you try it and something feels weird, confusing, or just plain annoying, let me know.
Have fun making some chunky little 3D things.
Purchase
In order to download this tool you must purchase it at or above the minimum price of $8.99 USD. You will get access to the following files: